728x90
반응형
def verify(
    img1_path: Union[str, np.ndarray, List[float]],
    img2_path: Union[str, np.ndarray, List[float]],
    model_name: str = "DeepFace",
    detector_backend: str = "retinaface",
    distance_metric: str = "euclidean_l2",
    enforce_detection: bool = True,
    align: bool = True,
    expand_percentage: int = 0,
    normalization: str = "base",
    silent: bool = False,
)


ㅋ,,, 함수는 두 이미지를 넣었을때 distance 값이 max_threshold_to_verify 값보다 낮으면 같은 인물로 판단하도록 동작되는데 verify 함수 안에서 도저히 'max_threshold_to_verify'를 못찾았다.. 분명히 주석에는 return한다고 되어있는데,, 사실 아직도 이유는 모른다 verify 함수를 고쳐보기도 했는데 출력이 안되는거 보니,,,
아무튼 그래서 쓴 방법은 디버그 콘솔 창을 통해 값을 확인하는 것! 방법은 아래와 같다.

먼저 VS code 에 들어가서 파일 - open folder 를 통해 코드가 있는 폴더를 열어준다

그리고 난 확인하고 싶은 값이 result 였기 때문에 그 밑까지 breakpoint를 걸어줬다.
breakpoint를 걸고 F5를 누른 후 Python File 클릭
좀 기다리면 터미널에서 돌아가면서 이후 breakpoint 지점전에 저렇게 노랗게 줄이 뜬다

그 이후에 아래에 있는 디버그 콘솔창(단축키 ctrl +shift +Y)에 원하는 값을 입력하면?

찾고 있던 'threshold' 값이 떴다! 끗
이제 질문
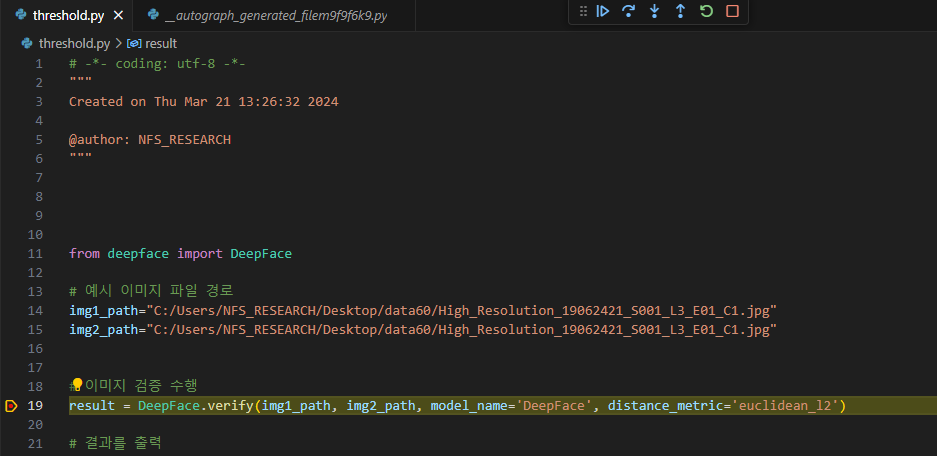
from deepface import DeepFace

# 예시 이미지 파일 경로
img1_path="C:/Users/NFS_RESEARCH/Desktop/data60/High_Resolution_19062421_S001_L3_E01_C1.jpg"
img2_path="C:/Users/NFS_RESEARCH/Desktop/data60/High_Resolution_19062421_S001_L3_E01_C1.jpg"


# 이미지 검증 수행
result = DeepFace.verify(img1_path, img2_path, model_name='DeepFace', distance_metric='euclidean_l2')

# 결과를 출력
print(f"Verified: {result['verified']}")
print(f"Distance: {result['distance']}")
if 'max_threshold_to_verify' in result:
    print(f"Max Threshold to Verify: {result['max_threshold_to_verify']}")
else:
    print("Max Threshold to Verify not provided in the result")

print(f"Model: {result['model']}")
print(f"Similarity Metric: {result['similarity_metric']}")
기존의 코드인데 이제 threshold 값을 확인했으니 첫번째 사진처럼 출력하고 싶은데 어떻게 해야하나요?ㅎ
728x90
반응형
'환경설정' 카테고리의 다른 글
| [Ubuntu 18.04] CUDA 10.2 설치하기 (0) | 2024.04.04 |
|---|---|
| [Ubuntu 18.04] Nvidia Driver 설치하기 (0) | 2024.04.04 |
| 자연어 처리(natural language processing) 환경 설정 (0) | 2023.09.20 |
| [YOLO] Windows 11에서 YOLO darknet 환경 구성하기 (0) | 2023.09.05 |
| 우분투(Linux)에서 C프로그래밍 하기 (0) | 2023.03.30 |


